Sunday, January 19, 2014

Inspiration of the Week: Purple lipstick

Lately I have been more inclined to paint on a bright lipstick rather than wear a dark eye.  I have tried various reds, pinks and even orange shades, and have been quite happy with the look that the dose of color adds.  After browsing through Pinterest, I found that I was pinning quiet a lot of purple lip shades.  Maybe it is because it is a little different and fun, but still looks cool and chic.  I don't know;  I do know that I like the look and plan to wear it as a alternative to red more often.  Aside from the violet lipstick, not much else is needed.  Maybe some tinted moisturizer and concealer to even the skin, a few coats of mascara and a little black liner, and you are good to go.  Remember that the darker your skin tone, the deeper the shade you can choose for the lips.  

Photos courtesy of Tumblr via Pinterest, BehindM blog/Elle via Pinterest, and Instagram via Pinterest(Jessiiistephiii).  Collage created with PicCollage app.

My suggestions to try-
Medium skin: MAC Heroine 

Me sporting my MAC Heroine lipstick


Saturday, January 18, 2014

A Quick Lesson on the Makeup Brushes Every Girl Should Own

Frequently I am asked about the types of makeup brushes to use to create different types of looks, for example: the cat eye flick, a smokey eye, etc.  I wanted to share with you the basic functions of the makeup brushes that can help create the majority of makeup looks- no need to go brush crazy!
The basic rules for makeup brushes are that natural hair brushes (animal hair) are best for powder products and synthetic hair brushes (plastic/manmade fiber) are best for applying cream or liquid products.  For natural hair brushes, I suggest splurging on brand name versions since they are generally made better and last longer (no hairs coming out after washing!)  I tend to buy MAC Cosmetics brushes because of their good quality, but there are plenty of other brands out there with great brushes as well.  There are also plenty of brands that offer inexpensive, well-made synthetic brushes, such as Real Techniques or Bdellium.  You can even find some nice kits out there that likely include all of my recommendations below.  Anyway, here we go!

Kryolan Shader Brushes (small and large)

1.  Eyeshadow shader brush:  A shader brush allows you to apply eyeshadow to the lid.  I recommend a good quality natural hair brush, but there are plenty of synthetic versions that work perfectly fine too.

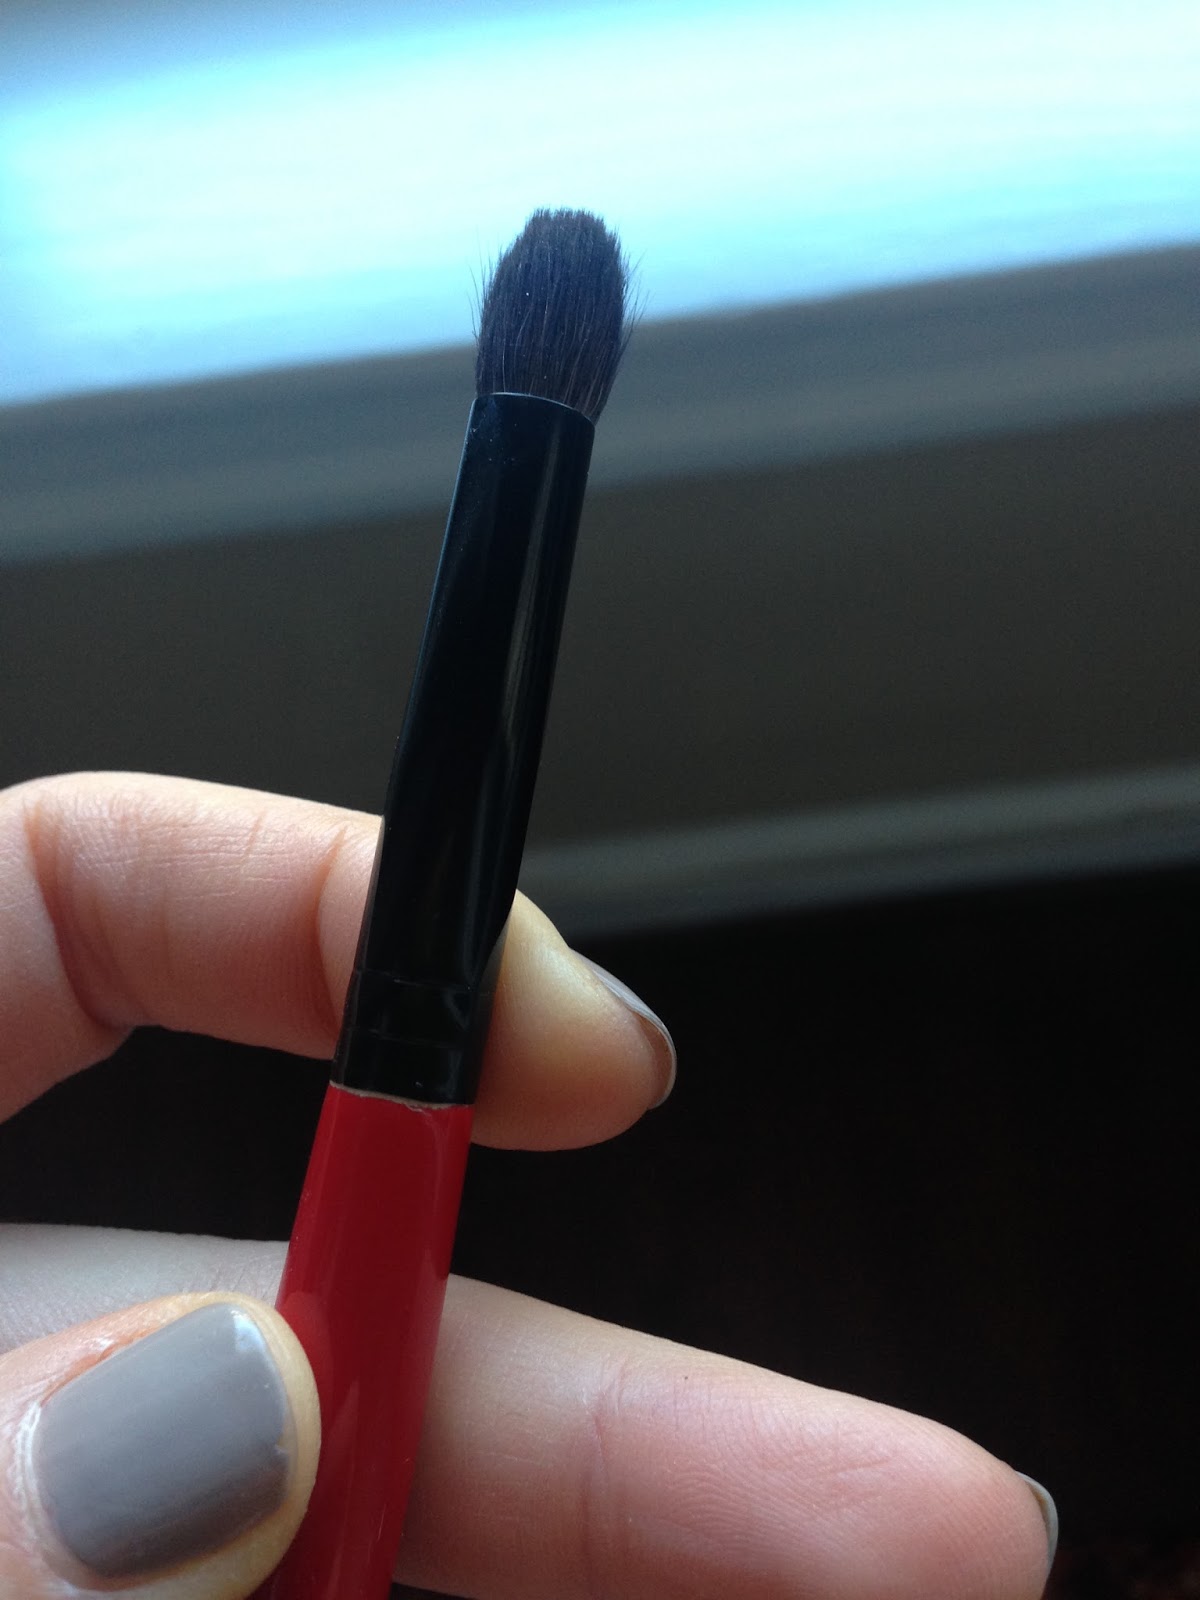
Smashbox Blending Brush

2.  Eyeshadow blending brush: A blending brush is used to blend (duh!) eyeshadow (or other powder products) to get a seamless result, especially for achieving a smokey eye.  You can also use a blending brush to blend concealer on the under eye area, which makes the look more natural.  A natural bristle brush with get you the best results.  


MAC Spoolie Brush

3.  Spoolie/brow brush: Spoolie brushes can be used to groom brows into shape and also to de-clump mascara.

MAC Angled Eyeliner Brush

4.  Angled eyeliner brush:  A angled eyeliner brush is used to draw on eyeliner (especially good for a cat eye) with a gel or cream product.  You can also use this brush to fill in brows with a powder product.  A synthetic version is your best bet.

MAC Blush Brush

5.  Blush brush:  A blush brush is used to apply powder products, like blush and bronzer, to the face.    Look for a good quality natural brush for the best results.

MAC Powder Brush

6.  Powder brush:  The powder brush is used to apply powder to large areas of the face, mostly to set makeup and blot out shine.  Once again a good quality natural bristle brush is best.  


Sigma Concealer brush

7.  Concealer brush:  Concealer brushes are best to apply cream products to the skin.  This allows for precise concealing on the face, such as covering zits or other imperfections.  A synthetic version is your best bet.

Two different types of foundation brushes: MAC Angled Foundation Brush and Urban Decay's Optical Blending Brush

And if you wear liquid or cream foundation, 8.  Foundation brush or Beauty Blender:  A foundation brush is used to apply liquid or cream foundation to the face.  Using a brush or sponge instead of your fingers ensures that product isn't wasted, and allows for better blending.  As with the other cream/liquid products, a synthetic brush will work best.

I hope this helps clear things up when it comes to makeup brush shopping and usage.  Please let me know if you have any questions or comments.  

Sunday, January 12, 2014

Product Review: Illuminare Concealing Mineral Foundation

I am am a loyal BareMinerals foundation user, but sometimes I like a little more coverage than it offers.  As you may already know, I have pretty sensitive and acne-prone skin, so it is difficult to find a moderate to full coverage liquid foundation that doesn't make me break out.  When I reordered my beloved Cor Silver Soap, Skincarestore.com sent me a couple of samples, the Illuminare Concealing Mineral Foundation being one of them.  I gave it a try yesterday, and I have to say, it is pretty great.
I simply used my hands and fingers to apply and blend onto my face (make sure to use moisturizer first for better blending), but a brush or sponge may be used if preferred.  After applying the foundation, my face barely required any concealer aside from a little brightening under the eyes.  The finish is semi-matte, and the look is flawless (no caking or weird oxidation here!).  I am seriously considering buying a tube of this stuff to have on hand for special occasions (or for when my skin acts up).  A tube is about $27, which isn't cheap, but since you require such a small amount for a full-face application, it should last quite a while.  And it contains sunscreen (SPF 20!)  Something to consider if you are in search of a new foundation:)

This is what the foundation looks like:) And Nars Dragon Girl on the lips.

My little sample packet.  Need more of this!


Friday, January 10, 2014

Urban Decay Naked 2 Tutorial (and new hair!)

I wanted to share a quick and easy tutorial using the Urban Decay Naked 2 palette.  If you do not have the Naked 2 palette, any range of neutral eyeshadows should work.  The palette is definitely worth the money if you are in the market for new eyeshadow, just putting it out there:)


My new hair color and the makeup look in the tutorial:)

1. Apply complexion products as you prefer. I applied my normal moisturizer, Bareminerals foundation, concealer under my eyes and on red spots.

2.  Apply bronzer (Nars Laguna is my go-to) around the hairline, cheekbones, jawline and down the nose.

3.  Swirl on blush of your choice.  I almost always use Nars Orgasm, but since the rest of the look is pretty neutral, any pink or peachy shade should work well.

4.  Prime eyelids with a primer you like.  I always use Urban Decay Primer Potion, since it is the BEST for keeping shadow in place all day.  I also recommend putting a little on the lower lash line too.

5.  Using a shader (flat) brush, apply Suspect (a light shimmery beige) to the inner corners of the eyes to about a third of the way across the lid, blending it slightly toward the tear duct.

6.  Next, apply Snakebite (a medium bronze) to the remaining two-thirds of the eyelid.  Then use a eyeshadow blending brush to lightly blend the colors together.

7.  On the outer "V "of the eyes, apply Busted (a deep burgundy) with a pencil blending brush.  Again with the regular eyeshadow blending brush, blend all three colors together in a windshield wiper motion.  When blending, you should make sure the shadows look like a gradient rather than three separate, disjointed colors.

8.  With a pencil blending brush, apply Snakebite to the lower lash line.

9.  Apply black eyeliner of your choice to the upper lash line.  I chose MAC Fluidline for this look.

10.  Line waterline of lower eyelid with a brown eyeliner (softer than black, but still makes eyes look sultry).  I used Urban Decay 24/7 Glide On Pencil in Whiskey.

11.  Curl lashes, apply mascara, and groom brows.

11.5.  Totally optional, but add your favorite pink lip color.  I used Bite Beauty lipstick in a fuchsia shade.

And there you have it:)  Please let me know if you have any questions or comments about this tutorial or anything else!


Tuesday, January 7, 2014

How are you liking the blog thus far?

Hello my favorite readers, I wanted to point out that I added a little survey for you guys on the upper right side of the blog.  I am trying to get a feel for how you like the content so far and what you like to see most.  Please participate if you can, it should take about 10 seconds:)

Also, I had an amazing photo shoot with one of my favorite photographers, @Michael Woodward, this weekend.  This is just one of the photos (of the gorgeous Theresa Grant)- I hope you like it!  I loved the way the makeup turned out, so just thought I would share.


Sunday, January 5, 2014

Product Review: BareMinerals Faux Glow Face

I am always hesitant to try sunless tanners, especially on my face, since they tend to make me break out.  Since BareMinerals tinted moisturizer, foundation and concealer do not make me break out, I decided to give their version for the face a try.  BareMinerals Faux Tan Face Gradual Glow is a gradual sunless tanner for the face and neck.  It is supposed to provide a golden glow without the damaging effects on the sun.

The instructions for usage of this sunless tanner do not vary from any other kind out there.  Basically apply evenly to clean, dry skin and wash hands thoroughly.  The formula is tinted, so you can ensure the product is evenly distributed on the skin.    You can choose to reapply every day to enhance the color, but I would advise applying every few days, which is enough to beat the pallor of winter and not look like a tanning junkie.

After one use, my skin felt extremely soft and moisturized, and I appeared more bronzed than I ordinarily look at this time of year.  The color is very believable; not too orange or brown.  It also helps disguise discoloration / unevenness a bit too (which means less foundation and concealer!).
I have not had any breakouts from this product so far, so I am pretty pleased.  I would definitely recommend BareMinerals Faux Glow Face sunless tanner.

This product can be purchased at Sephora, Ulta or BareMinerals stores for about $24.

P.S. the line also carries a body formula, which I can't wait to try!

I will try to add a photo soon of the before and after:)

Friday, January 3, 2014

A Quick Lesson on Washing Makeup Brushes!

If you don't already know, you should be washing your makeup brushes/applicators once a week.  Not only does it protect you from bacteria and germs that can harbor on brushes, but keeping them clean also ensures they perform well.  I am not saying I am the best about cleaning my own personal brushes every week, but I have to keep my freelance kit very clean and sanitary as part of my job.


My freelance kit brushes, all dirty and grimy from my last gig.


Here are some of my favorite products and tips for cleaning makeup brushes:

You can probably get by with using baby shampoo or a gentle cleanser, but they don't disinfect very well.  Especially with cream/liquid products, it is better to use a brush purifier as well.  I love Sephora's Purifying Brush Shampoo, since it is antibacterial and is only $15 for a bottle (they also offer a smaller sized bottle for $7).  This is a thin gel product, which almost looks like liquid soap.  You use this shampoo by squirting the product onto the palm of your hand, then swirl your dampened makeup brush in it.  Once you swirl, you will being to see the makeup gunk washing out.  Rinse the brushes in warm water until the water runs clear.


Another product I love is London Brush Company's Brush Shampoo, which is actually a solid soap in a jar.  This brush shampoo is available in lemon and lavender scents, and is made out of goat's milk.  It is amazing at removing all traces of makeup residue from brushes without drying out the bristles.
This shampoo is used by dampening a makeup brush then swirling it in the container.  After you get the shampoo on the damp brush, roll and swirl the bristles of the brush in your hand under running water.  All of the residual makeup should almost clump up in the shampoo, then rinse out.  Rinse in warm water until the brush is clean and the water runs clear.


When washing makeup brushes, you should be careful to keep the handle and metal piece (called a ferrule) pointed downward. If water gets into the ferrule, it is much more likely to create damage to the brush (NOT a good thing if you own nice brushes!).  You also want to gently shape the brush bristles back into shape after all the swirling you did to clean them.  Lay brushes out on a clean towel or paper towel(s) to allow them to dry (always dry in a clean, dry place).