Showing posts with label tutorial. Show all posts

Monday, March 17, 2014

Tutorial: How to Slim Your Nose in a Few Minutes

One of my favorite tricks that is super easy and makes a HUGE difference is contouring my nose.  Not that everyone out there needs to create a slimmer schnoz, but if you have a nose that is on the larger and/or wider side, this is a great trick to know.  With makeup, you can slim your nose in just a couple of steps.  All you need is a matte bronzer or contouring powder (nothing shimmery or sparkly), a eyeshadow brush, and a blending brush.  Some people prefer to use a concealer or foundation (a couple shades darker than their skin color) to contour, but for day-to-day makeup, the steps below are easier.

1.  After applying your typical complexion makeup (moisturizer, concealer, foundation, etc), swirl the tip of your flat eyeshadow brush into your bronzer or contouring powder.  Starting at the upper side of the bridge of your nose (under the head of your eyebrow), lightly trace a line going all the way down to the nostril.  Repeat on the other side of your nose.

2.  After you have drawn the lines on both sides of the nose, draw a line horizontally from one nostril  through the tip of your nose, to the other nostril.

3.  Using your blending brush, blend along the bronzer/contour lines you drew to "fade" them into your skin.

And there you have it, a slimmer nose in no time!  Below you can compare the difference this makes. I am sorry that I do not have photos from the same day, but you get the point:)


No contouring
Contoured nose:)

Thursday, February 13, 2014

Tutorial: Purple Lipstick Evening Look

First off, just wanted to apologize for the lack of posts.  I am busy preparing for wedding season and learning how to style hair as well (undos and whatnot).  I don't mean to neglect my blog, especially since it is still pretty new!  
Here is a tutorial for a relatively simple look that works well for night time, and the purple lipstick is a little bit unexpected compared to a red or pink.


1.  Prep skin with moisturizer of your choice. If you live in a cold climate (or have dry skin), the more moisture the better!  I like to blend Mario Badescu's AHA and Ceramide Moisturizer with some BareMinerals Tinted Moisturizer.

2.  Conceal dark under eye circles and any redness (acne, rosacea, etc) with concealer of your choice. This step ensures an even skin tone that will not compete with the lipstick shade.  I like Nars Creamy Radiant Concealer for the under eye area and Bobbi Brown Touch Up Stick for the rest of my spots.

3.  Apply foundation (if you want or feel you need it), like BareMinerals Original Foundation with a big brush.  If you prefer liquid foundation, I also suggest using a stippling brush or Beauty Blender sponge for flawless coverage.

4.  Apply bronzer to hairline, down the bridge of your nose, cheekbones and jawline. Then apply a light peachy pink blush.  I routinely use Nars Laguna Bronzer and Orgasm Blush.

5.  Fill in your brows!  If you want to know how, watch my video tutorial:)

6.  Prime eyelids with your favorite primer to ensure long-lasting eye makeup.  As you may have read previously, I LOVE Urban Decay's Original Priming Potion.

7.  Apply waterproof black eyeliner on upper and lower waterlines, smudging into the base of the lashes.  This does not need to look perfect, since it will be blended for the finished look.  I love Urban Decay 24/7 Glide-on Eye Pencil in Zero.

8.  Using a pencil blending brush dipped in a cool-toned taupe eyeshadow, blend and smudge the eyeliner so the line looks diffused and soft.  Blend from the lash line up toward the lid.  You can add more liner to the waterline if you prefer.  I used Urban Decay's Naked 2 Palette for the eyeshadow (I believe I used "Pistol")

9.  Swirl on a lighter eyeshadow ("Verve" is the shadow I used) onto the lid using an eyeshadow blending brush (no need to use a shader brush).  Then with the same shade of eyeshadow used to blend the liner, apply color to the crease of the eye with the same blending brush.  Blend until everything looks as seamless as possible.

10.  Curl lashes and apply mascara of your choice.  I think I used L'Oreal Voluminous here.

11.  Line lips with a neutral lipliner, then apply purple lipstick straight from the tube  (I used my favorite MAC Heroine lipstick).  Blot lips with a tissue and you are good to go:)

Please let me know how you like this tutorial and / or if there is anything you would like to hear more about!


Thursday, February 6, 2014

A Quick Lesson: How to Fill Your Brows, Part 2

In continuation of my previous post on how to fill your brows, this tutorial will explain more about shaping and the "Magic Brow Ratio".

The "Magic Brow Ratio" is the easiest and best way to determine where the brows should start and end to best frame the fact.  It also helps to locate where the arch should appear for the most natural, flattering look.  If you have over plucked in the past, no worries!  You can use this guide to help fill your brows, and once you know the shape you should be aiming for, it will make it easier to pluck only where necessary.  All you need to get started is a straight edged tool, like a makeup brush, and a brow pencil to mark the three key measurements.

In order to achieve the ideal brow, there are three key measurements :  The inner brow, the arch, and tail.

1.  The Inner brow:  The inner part of the brow, or head of the brow, should start around the same line as the side of your nose.  Hold your "measuring tool" flush against your nostril and make a little mark if necessary as a guide.

2.  The Arch:  The arch of the brow should start the distance from the side of the nose to the outer edge of the iris (colorful part of the eye).  This should be the highest point of the brow.  Using your measuring tool, measure diagonally from the nostril to the iris and make a little mark with your pencil.

3.  The Tail: The tail of the brow should end around the area from where the side of your nostril and the outer corner of your eye.  Use your measuring tool to continue to measure diagonally from the nostril to the outer corner of the eye, as shown above.  Make a mark where the tail should be.


Next, you will use these marks as guides while filling the brows.  Once again, this helps to give you the idea of what your ideal brow placement should be, so you can fill the brows more effectively.  The next few steps are my typical routine when doing my brows.


I usually focus most of my definition on the arch and tail of my brows, since my inner brow area is pretty much where I want it to be.  My eyebrows are not perfectly matched (nobody has perfectly matching ones!) and so I have to define one a little more than the other to make them look as matched as possible without looking phony.  As I mentioned in my previous brow post, a brow that is too squared off in the inner corner is a look that some people are into, but it can look very harsh.


Here I have added my pencil to define and lengthen my brow.  The next step I usually add is to use a little concealer and a concealer brush to trace the upper line of the brow as well as the tail.  This helps to make the penciled in areas look more natural.  (Okay, I know that sounds weird since I am taking about adding more makeup to make it look natural, but trust me! I will add a post on this soon!) 
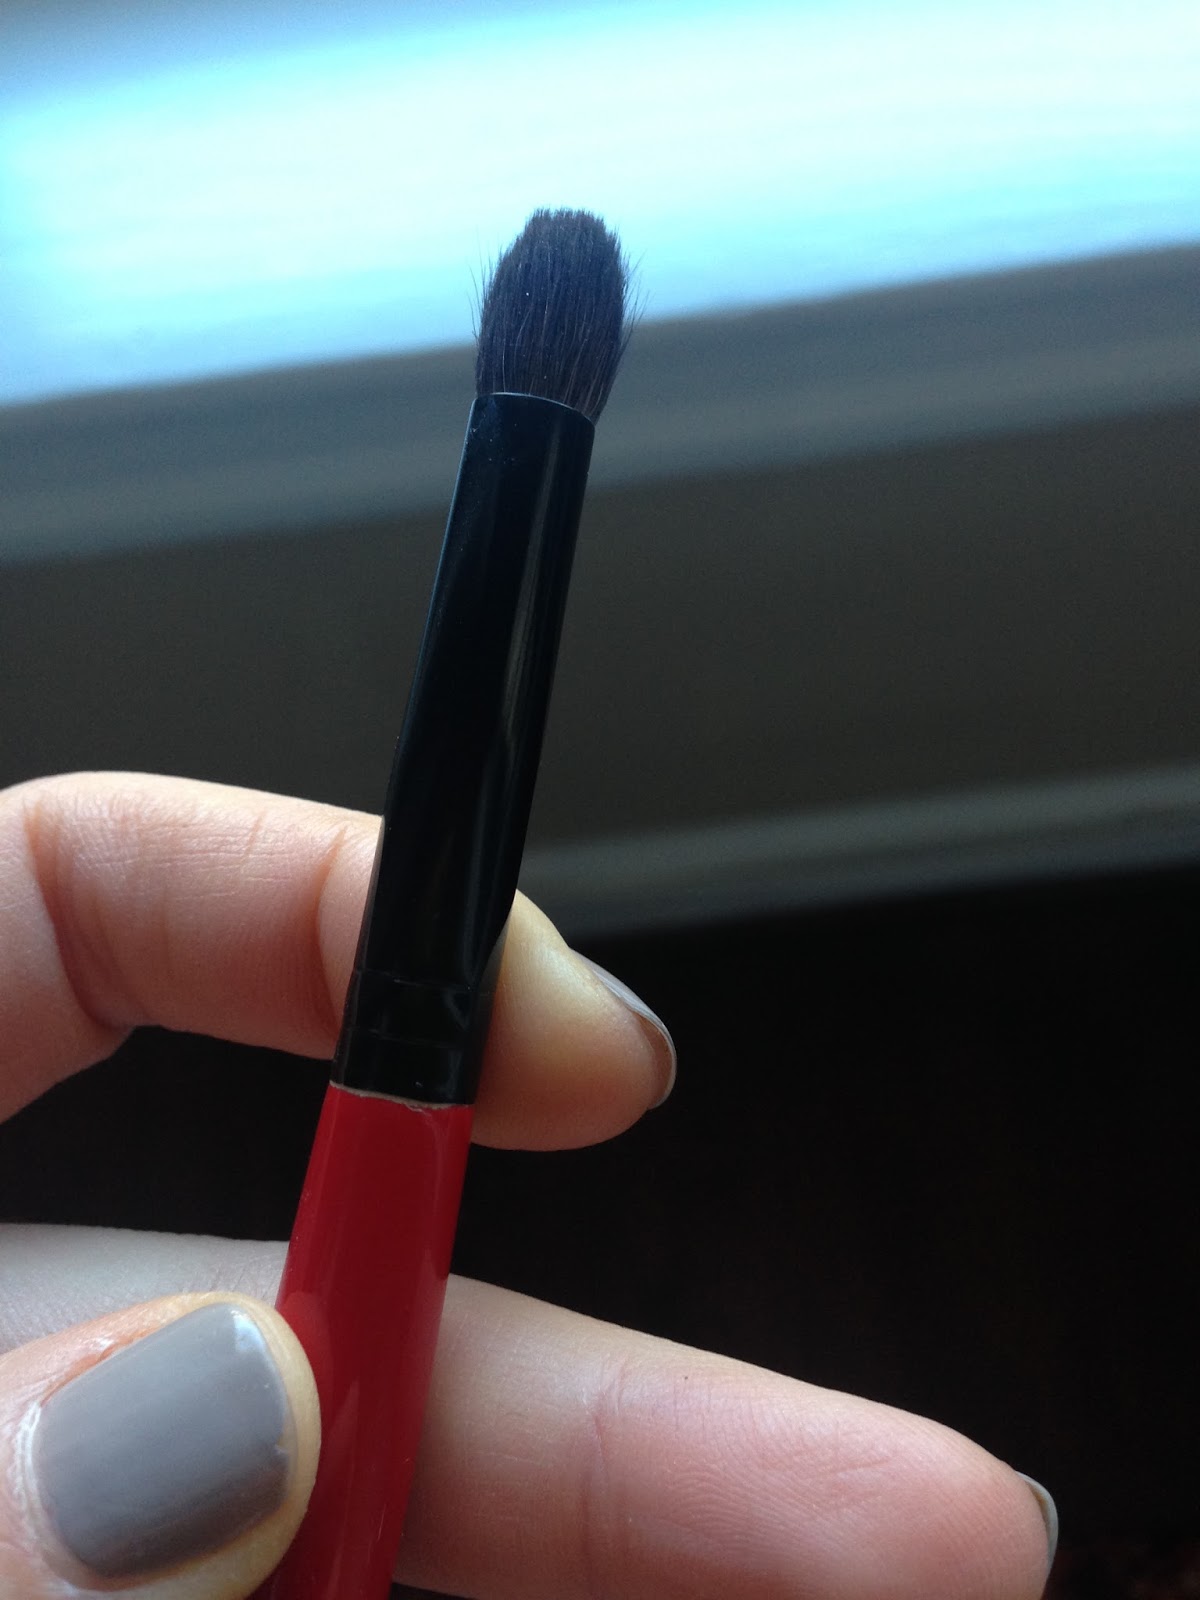
To blend the concealer so there is no telltale sign of it, I use a blending brush (a clean eyeshadow blending brush) to blend it.  


Lastly, I fill my brows with a little powder and add a little clear eyebrow gel.  Ta-da!

Wednesday, February 5, 2014

Super easy, glasses-wearer friendly makeup tutorial

Here is a very simple look, which is perfect for anyone really, but especially for those who wear glasses.  When you wear glasses, you don't need to wear as much makeup (generally speaking), which is awesome.  You do have to play up certain features, like your brows and lips, so the glasses don't take over your entire face.   I myself have worn glasses since I was three, so I know a thing or two about how to do this:)


All you need is to follow your typical complexion makeup routine (tinted moisturizer and some concealer in my case) and follow these steps:

1.  Fill those brows!  If you don't know how, check out my "How to" video on this blog:)  This step is the most important, since the brows frame your eyes and glasses.  Plus, it makes you look more put together.

2.  Swipe on some shimmery taupe eyeshadow on your entire eyelid, all the way up to your crease and blend.  No need for multiple eyeshadow shades for this look!  I used one (Verve) from my trusty Urban Decay Naked 2 Palette.  

3.  Draw on a very thin line of black (or gray, if you prefer) eyeliner on your upper eyelids.  I used liquid to get a super skinny line, but any liner will work just fine.  

4.  Apply two coats of your favorite mascara on top and bottom lashes.  If you have any clumps, make sure to comb them out!  I used one of my favorites, L'Oreal Voluminous False Fiber Lashes.

5.  Apply a pretty lip color, preferably a medium peach or coral, which looks great on most skin tones.  I used Nars Satin Lip Pencil in Lodhi. 

6.  Apply a swirl off peach-pink blush onto your cheeks.

And there you have it!  Simple and pretty in no time at all:)   

Tuesday, January 21, 2014

Tutorial: Violet / Cranberry Smokey Eyes

If you read my last blog post, you saw I just bought a bunch of MAC products including several eyeshadows to fill a palette.  I have never been a huge fan of MAC's eyeshadows, but my recent purchase is leaving a good impression.  The shadows are all very pigmented and do not crease or fade.   Now that I know they are up to par, I put together this tutorial for a smokey eye look with some of the eyeshadows I bought.  You can use any eyeshadow, as long as the colors are similar it should give the same look.


1.  Apply shadow primer of your choice.  As you know, I love Urban Decay Primer Potion.

2.  Use a slightly iridescent cream color on the inner corner/tear duct of your eye.  I used MAC Shroom.

3.  On the inner corner of your eye, apply a light peach-pink shadow.  Here, I used MAC Gleam.

4.  On the middle of the eye, apply a medium pink-purple.  I used MAC Star Violet.

5.  On the outer v of the eye and crease, apply a dark purple.  I used MAC Sketch.  Blend everything with a blending brush with a windshield wiper motion.

6.  Apply a waterproof black eyeliner in the upper and lower waterlines.  Smudge with a q-tip or pencil blending brush.  For this look, I used Urban Decay 24/7 Glide On Eye Pencil in Zero.  

7.  Smudge some of the dark purple shadow into the lower lash line.  

8.  Curl eyelashes and apply lots of mascara.  I used L'Oreal Voluminous Butterfly Effect mascara.

Saturday, January 18, 2014

A Quick Lesson on the Makeup Brushes Every Girl Should Own

Frequently I am asked about the types of makeup brushes to use to create different types of looks, for example: the cat eye flick, a smokey eye, etc.  I wanted to share with you the basic functions of the makeup brushes that can help create the majority of makeup looks- no need to go brush crazy!
The basic rules for makeup brushes are that natural hair brushes (animal hair) are best for powder products and synthetic hair brushes (plastic/manmade fiber) are best for applying cream or liquid products.  For natural hair brushes, I suggest splurging on brand name versions since they are generally made better and last longer (no hairs coming out after washing!)  I tend to buy MAC Cosmetics brushes because of their good quality, but there are plenty of other brands out there with great brushes as well.  There are also plenty of brands that offer inexpensive, well-made synthetic brushes, such as Real Techniques or Bdellium.  You can even find some nice kits out there that likely include all of my recommendations below.  Anyway, here we go!

Kryolan Shader Brushes (small and large)

1.  Eyeshadow shader brush:  A shader brush allows you to apply eyeshadow to the lid.  I recommend a good quality natural hair brush, but there are plenty of synthetic versions that work perfectly fine too.

Smashbox Blending Brush

2.  Eyeshadow blending brush: A blending brush is used to blend (duh!) eyeshadow (or other powder products) to get a seamless result, especially for achieving a smokey eye.  You can also use a blending brush to blend concealer on the under eye area, which makes the look more natural.  A natural bristle brush with get you the best results.  


MAC Spoolie Brush

3.  Spoolie/brow brush: Spoolie brushes can be used to groom brows into shape and also to de-clump mascara.

MAC Angled Eyeliner Brush

4.  Angled eyeliner brush:  A angled eyeliner brush is used to draw on eyeliner (especially good for a cat eye) with a gel or cream product.  You can also use this brush to fill in brows with a powder product.  A synthetic version is your best bet.

MAC Blush Brush

5.  Blush brush:  A blush brush is used to apply powder products, like blush and bronzer, to the face.    Look for a good quality natural brush for the best results.

MAC Powder Brush

6.  Powder brush:  The powder brush is used to apply powder to large areas of the face, mostly to set makeup and blot out shine.  Once again a good quality natural bristle brush is best.  


Sigma Concealer brush

7.  Concealer brush:  Concealer brushes are best to apply cream products to the skin.  This allows for precise concealing on the face, such as covering zits or other imperfections.  A synthetic version is your best bet.

Two different types of foundation brushes: MAC Angled Foundation Brush and Urban Decay's Optical Blending Brush

And if you wear liquid or cream foundation, 8.  Foundation brush or Beauty Blender:  A foundation brush is used to apply liquid or cream foundation to the face.  Using a brush or sponge instead of your fingers ensures that product isn't wasted, and allows for better blending.  As with the other cream/liquid products, a synthetic brush will work best.

I hope this helps clear things up when it comes to makeup brush shopping and usage.  Please let me know if you have any questions or comments.